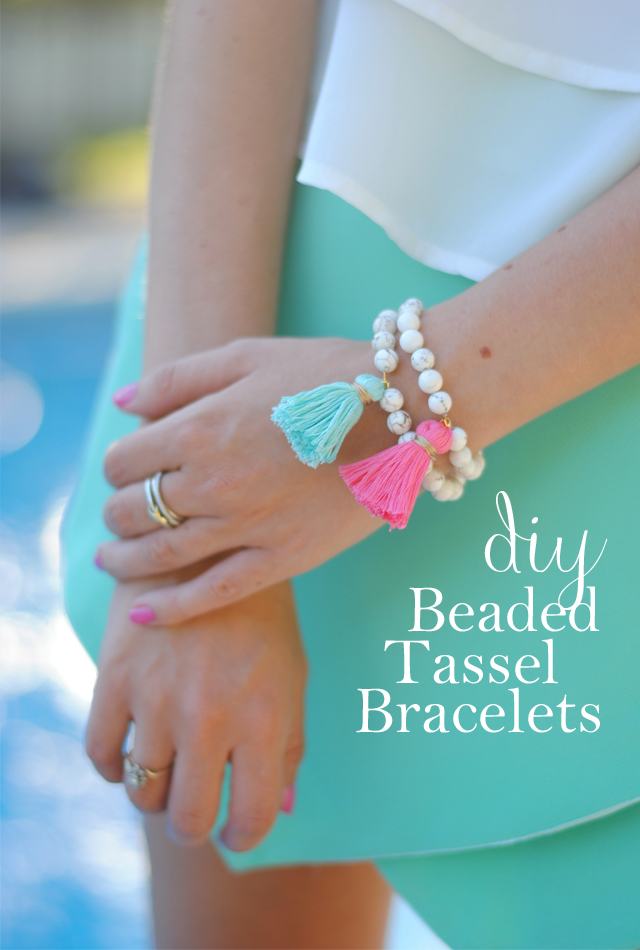
Lately, I've been seeing tassel bracelets everywhere, and I even own a few. I wanted to see how hard they were to make on my own… and honestly they are not hard at all! When I was finished, I compared them to my store-bought bracelets and they were almost identical. Everything I purchased for this project I was able to find at Michael's, so your local craft store should have everything you need.
For this project, you will need the following items:
- Scissors
- Pliers
- Embroidery thread
- Beads of your choosing
- Crimp beads
- Small gold ring (called a jump ring)
- Gold wire (mine had a hint of sparkle)
- Stretchy, clear jewelry cord
- Credit card for wrapping the thread around

Step One:
Cut off 1.5 feet of embroidery thread and fold four times. Slide the gold jump ring onto all four strands. Set aside.
Step Two:
Wrap the embroidery thread tightly around the width of the credit card, using up the entire package of thread. Cut the threads with scissors along one edge of the credit card, making sure to keep the threads all together. (See below)

Step Three:
Tie the strands from Step One around the middle of the threads you just cut. The jump ring should be perfectly centered on top and the knot should fall underneath. (See below)

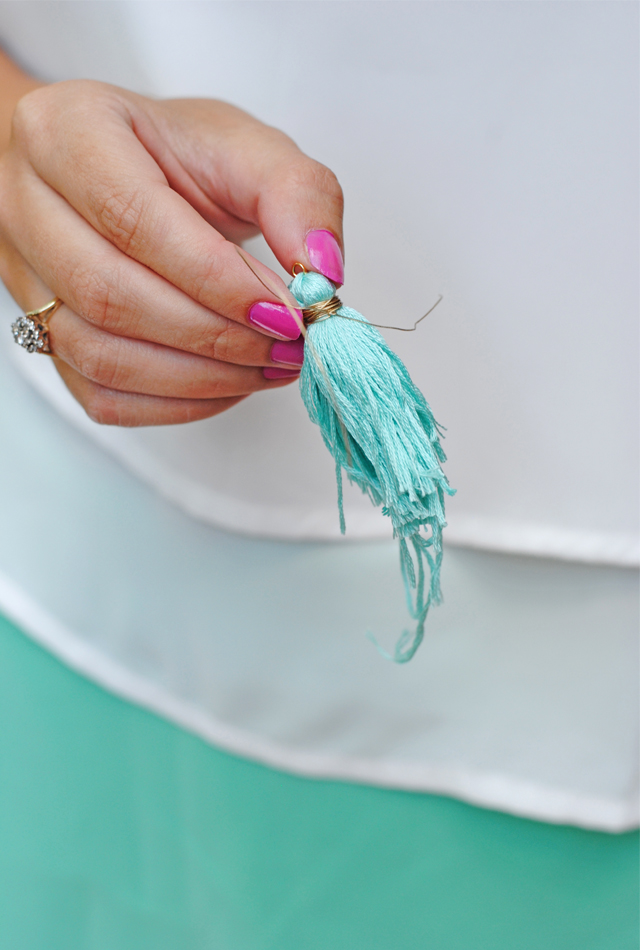
Step Four:
Take the two sides of your threads and pull down to combine. When this is complete, wrap the gold wire tightly around the top, forming the "head" of the tassel. (See below)
Step Five:
String your beads onto the stretchy, clear jewelry cord, making sure that it is a good size for your wrist. (I used 20 beads but they were small!) String both sides of the elastic through two crimp beads and the tassel, with the tassel in the middle. (See below)

Step Six:
Pull the strings together tightly. With pliers, clamp down the crimp beads found on both sides of the tassel. The crimp beads will hold the strings and tassel in place. Cut the leftover string.

Step Seven:
Almost complete! Using SHARP scissors, simply cut your tassel to the desired length, making sure all of the ends are even. Be careful not to cut too much at once. You can always go back and trim uneven pieces.

And ta-da… Your tassel bracelet is finished! I bought all of the materials and completed this project in a single afternoon, so it really wasn't that time consuming. You will need another person to help you tie some of the knots and use the pliers, so be aware of that if you are trying to do this on your own!


Essie nail polish in "Madison Ave-hue" // David Yurman crossover ring
The thing that's great about these tassel bracelets is that they are easily customizable. You can use any color thread… neon, pink, blue, orange…. and any type of beads! I would really like to find some wooden beads to try next.
If you try this out I would LOVE to know! Tag me in the Instagram of your finished product and use the hashtag #curlsandpearlsDIY and I may re-gram you! :)
Pssst. Don't forget about the Nordstrom Anniversary Sale going on because prices go back up soon! I tried on this sweater the other day in the store and it SO cute. I also really want these shoes to wear with jeans in the fall!
SHOP THE POST:
